Apart from the bowl, pipes, and drains that deliver the water and take away the waste, your toilet is all about the cistern. And while you’ll need a licensed plumber to do all the plumbing work around your place, replacing a toilet cistern is something you can do yourself.
Before heading in to replace your toilet cistern, you should first diagnose the problem as sometimes there could be a different plumbing problem. It could be:
- The toilet won’t flush
- The toilet keeps running
- The toilet is blocked
Of course, plumbing DIY is not for everyone: get it wrong, and the damage can be extensive, the repair bill significant, and the mess … rather messy indeed! But if you’re a bit of a whiz with a wrench and know the difference between sticky and plumber tape, you might like to take a crack at replacing a toilet cistern with our step-by-step guide.
1. Are You Confident?
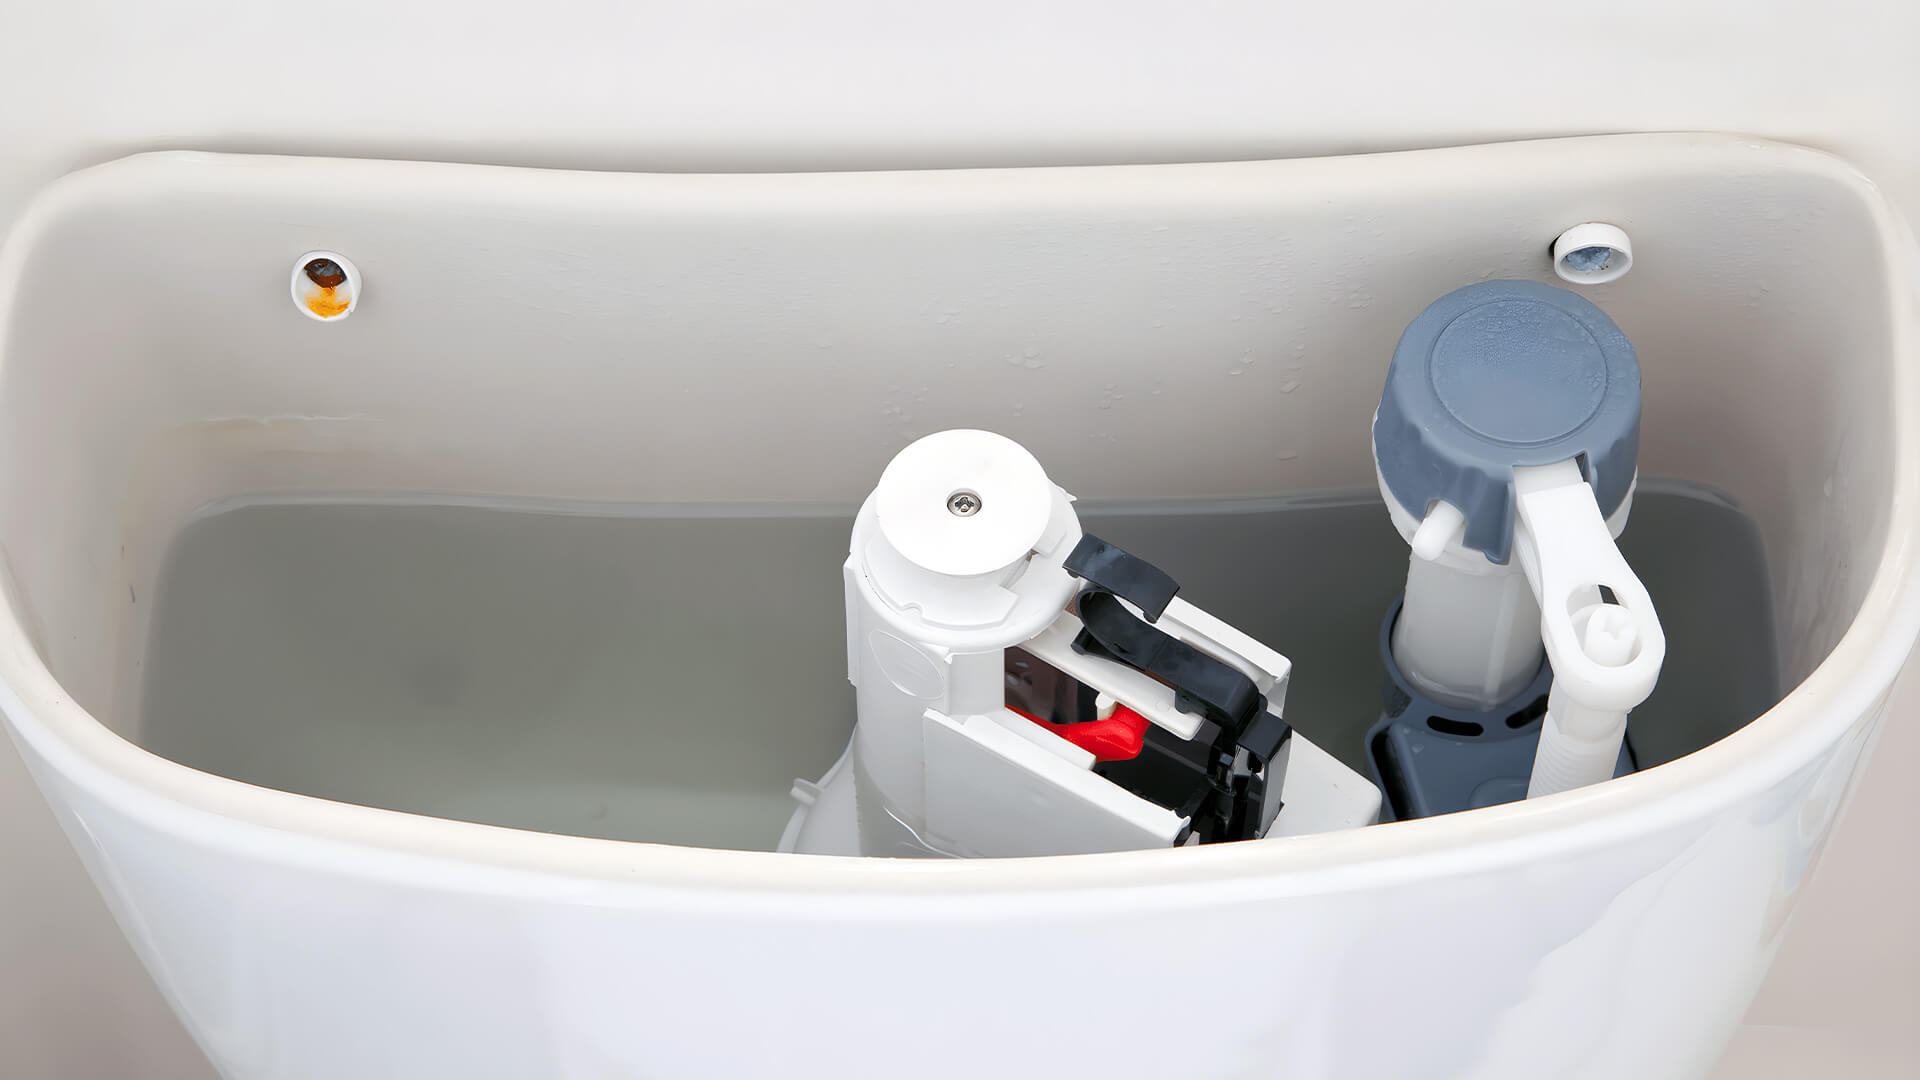
Are you only finding out right now the difference between your toilet bowl and the part you lean your back on when you’re on the throne (the cistern)? Remember, it’s a straightforward and relatively inexpensive task for a great local Melbourne plumber to get done in a jiffy, so if you’re not sure … leave it alone.
2. Check Your Replacement Cistern
Remember: not all cisterns are created equal. Before learning how to change cistern systems, you’ll need to make sure you’re replacing it with a compatible unit in terms of type and size. Once you’re sure, read any instructions with your new cistern thoroughly.
3. Flush
Before you do anything, close the stop tap, turn off the mains, and then pull that chain or press the flush button. Before removing the old one and putting in a replacement toilet cistern, it will have to be empty – or it will get rather messy.
4. Remove The Old One
Look at the unit’s bottom and locate the inlet pipe. With a wrench, undo and remove it, and then find the few nuts and bolts holding the cistern in place.
5. Replace Toilet Cistern
If you could remove the old cistern, you already know how to change toilet cistern units already … do it in reverse! Everything – especially the cone gasket and attachment hole – should line up perfectly if you’ve bought the correct replacement unit.
6. Where’s Your Plumber’s Tape?
Remember that plumber’s tape we mentioned earlier? Before re-attaching the hose to the new unit, use that tape like a boss! It will help seal the thread and lubricate the connection – and if you need to replace the toilet cistern again, it will be easier to disassemble the next time.
7. Tighten It All Up
Grab that wrench again and ensure everything is flush, nice, and tight.
8. Test Your Replacement Toilet Cistern
Turn on the mains, turn the stop tap back on – and listen to the glorious sound of your new toilet cistern filling up, ready for its first flush. With some luck and skill, nothing will leak, and you’ll soon be prepared for a test drive.
But if you’ve got to Step 8, are almost ankle-deep in water, and need a Panadol, you could always call for toilet repair and installation services… immediately! With no call-out fee, fixed and upfront pricing and a lifetime labour guarantee, you can trust Ezy-Plumb to fix anything and everything to do with your home’s hardest-working seat. And if replacing a toilet cistern the DIY way went wrong, we’re always on call for a messy plumbing emergency, too! Call today.
