A leaky tap will never fix itself. Instead, you must get to the cause of the problem and fix the faulty faucet as soon as possible. Fortunately, in most cases, fixing a leaking tap can be a DIY task that requires a few standard tools. You can replace a tap washer with seven simple steps and stop that annoying dripping.
If you are among those who haven’t changed a tap washer before, you should read this article to the end before starting.
Why Would You Have To Replace A Tap Washer?
A dripping tap can be pretty frustrating for its owner; you often try turning it off harder, yet the leaking continues to drip. However, the good news is that there is a simple and effective solution: get your tap washer changed.
Tap washers are small disks that sit inside the tap itself. Typically, a tap should have two major components: the tap washer and the seat. When you turn the tap off, the washer will push against the seat to make a watertight seal, and eventually, the water will be prevented from moving out of the tap.
That tap washer doesn’t have everlasting life. As time moves on, tap washers will eventually wear out. Due to wear and tear, the tap washer may fail to create a watertight seal, and as a result, water may start dripping through the spout.
There are different taps, and each tap has a different approach to fixing the tap washer. If you’ve got a more modern tap, your tap may use a ceramic disc cartridge rather than a rubber washer. In this case, you may need professional leaking tap repairs or replacement rather than tackling it as a DIY task.
Changing a tap washer should solve the leaky tap problem in most cases. However, after you have changed a tap washer and the problem persists, it’s time to contact an experienced local plumbing company.
How To Change A Tap Washer
First off, keep in mind that this guide focuses on standard taps. So, endeavour to check whether your taps belong to the standard category. If you have any doubts, ask a professional for their opinion. It is worth noting that taps work differently, and while this guide will likely help resolve a leaky tap, we can’t provide a 100% guarantee unless we know your tap. Before we proceed to the seven simple steps of replacing a tap washer, let’s discuss the essential tools to get the job done.
Changing a tap washer doesn’t require heavy equipment; a few tools you will likely have at home should be enough. And for those who do not have one, you may borrow from your close neighbour or purchase from a nearby hardware store. For this task, you need a spanner, a screwdriver (flat-headed), an old towel (or piece of cloth), a pack of tap washers and a wrench.
A Step-By-Step Guide To Change A Tap Washer
Step 1: First and foremost, ensure you switch off your main water supply. Otherwise, you will flood your kitchen or bathroom. Under the tap, you may find an isolation valve. Turn the valve off to block water from the sink. If you don’t have a valve, head straight to the mains and turn off the water supply.
Step 2: Cover the plughole in the sink with the plug. If you drop any screw or tap by mistake, you won’t lose it into the drain. Also, it would help if you placed a piece of cloth or an old towel inside the sink would help prevent any damage to the sink surface if you drop a component or tool.
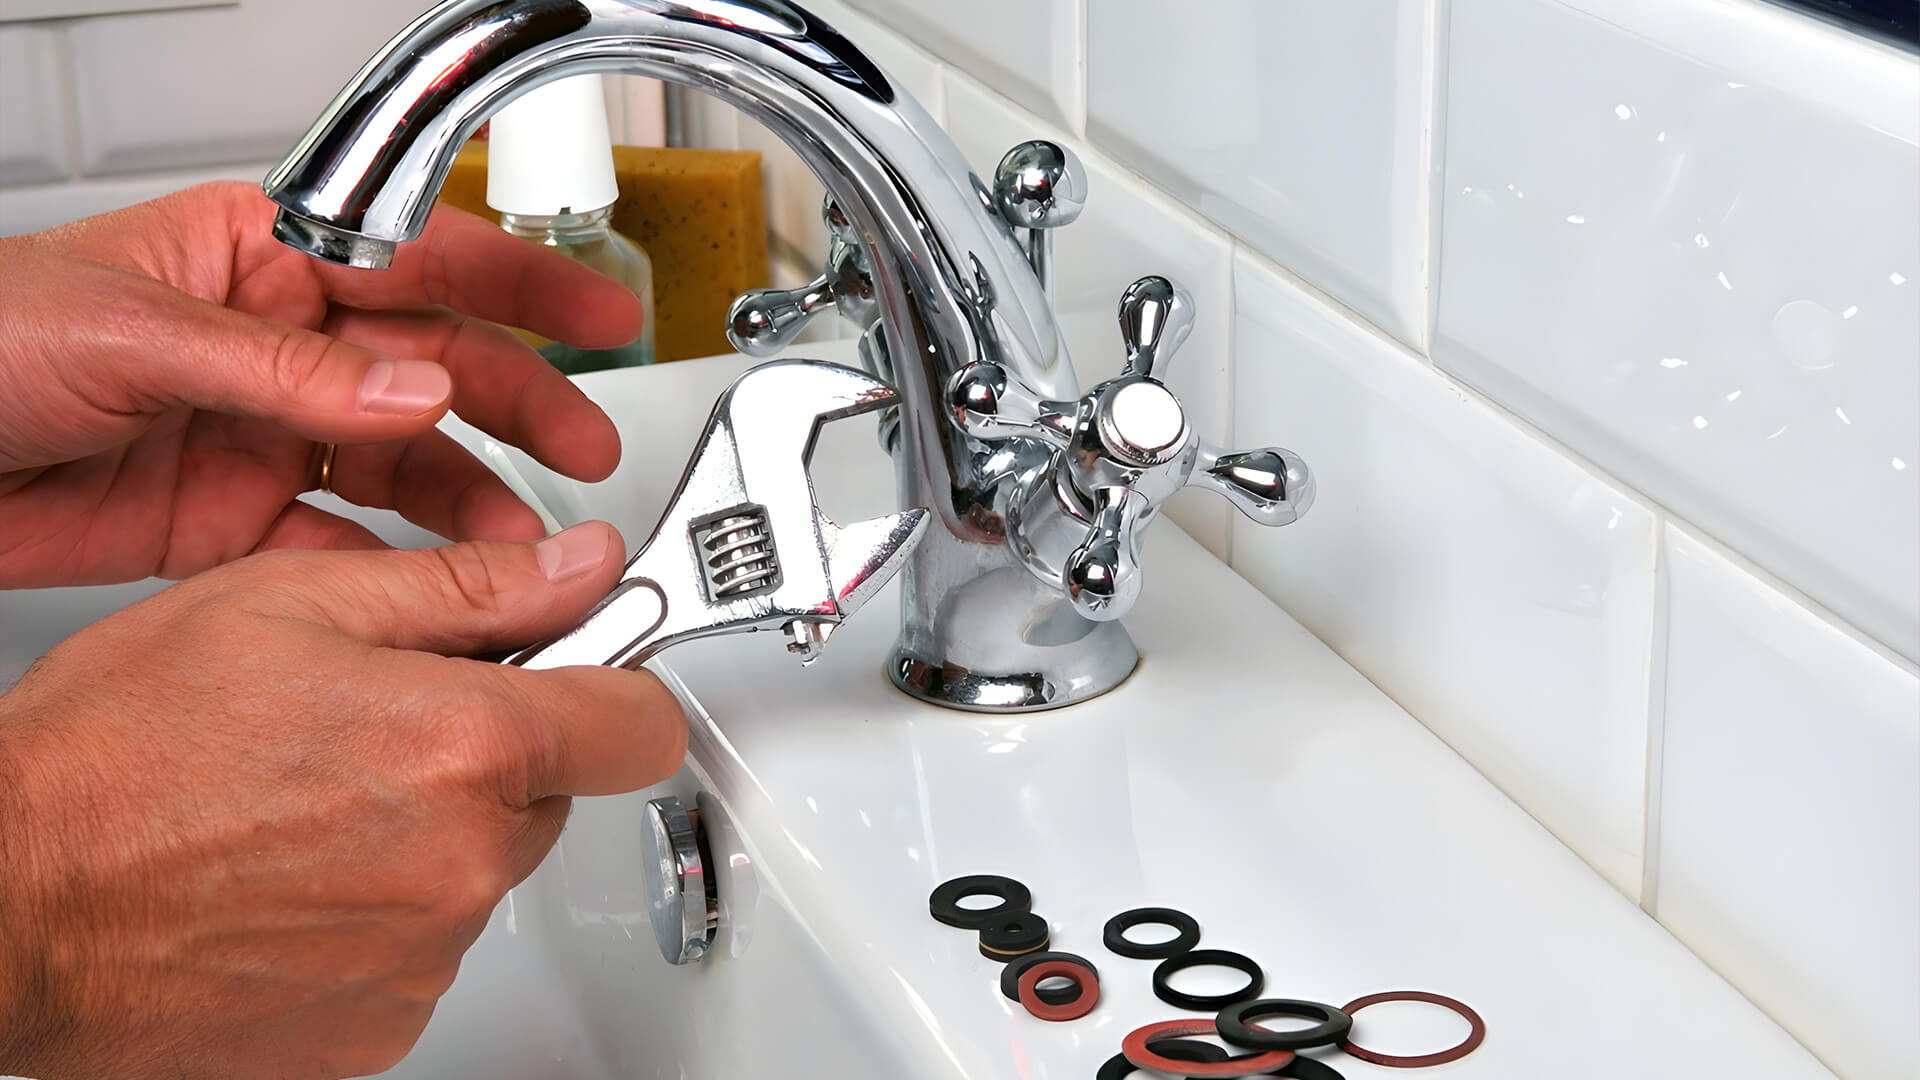
Step 3: Take out the cover from the tap with a screwdriver to expose the valve. Afterwards, use the spanner to remove the valve. If you realise the valve is stiff, hold it in place with a wrench and use a cloth to protect the tap. Now, try to remove it again with the spanner.
Step 4: You will find the tap washer beneath the valve with screws or nuts in place. Use your spanner to remove the washer. But, if the washer is exceptionally tight, add some penetrating oil around it, leave it to soak for a few seconds, and then try to remove it again with the spanner.
Step 5: At this stage, insert the new tap washer (of the same size) into the position of the old, worn washer.
Step 6: Reassemble the tap. Use your spanner to screw the valve back into its position and ensure that you do not overtighten it; otherwise, the tap will be damaged. Return the top to the tap and tighten it.
Step 7: Take out the towel from the sink and the plug from the hole. Now, turn on the water mains and test if your tap is working and no longer leaking. That’s all. Sit down and watch your impressive job done with a smile.
Prevention Of Leaky Taps
Understandably, frequently changing a leaky tap or tap washer can be frustrating. Hence, you are best advised to replace your taps with modern designs using ceramic disc cartridges. This tap has high durability and resilience compared to others.
Hopefully, this guide has provided you with the necessary abilities as well as the confidence to get your tap washer replaced as a DIY task. We wish you good luck. But if you ever encounter any difficulties or get stuck, don’t hesitate to contact our experienced team. We have the best leaking tap repair specialists who provide high-quality solutions.
